FUSELAGE CONSTRUCTION - Page 22.
September 3, 2003: I have done about all I
can without doing some priming of aluminum parts. I did manage to get both steps
hung on the center section in the past two days. It seems strange working with a
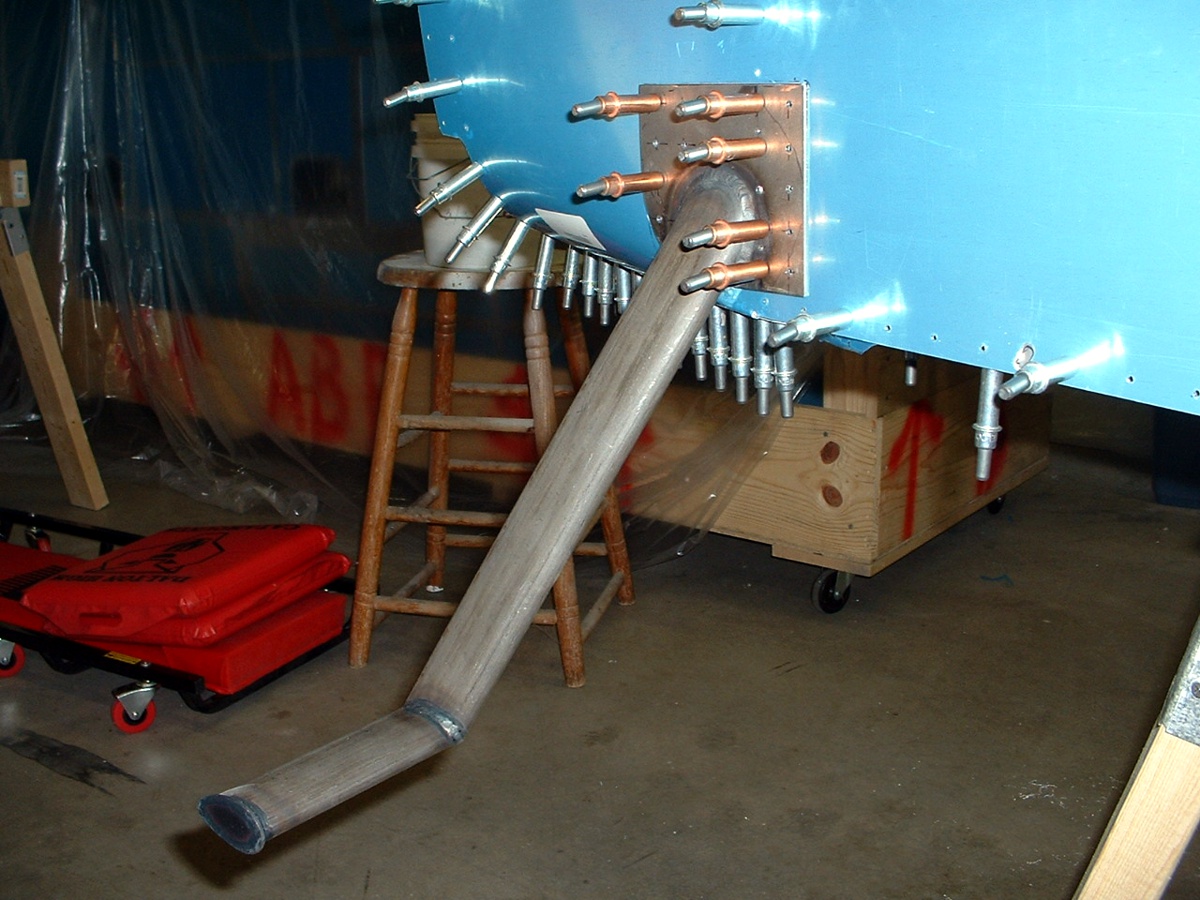
steel part after so much time with aluminum. You can see that there is a definite
airfoil shape to the leg and step to minimize drag. These steps hang down aft of the
wing flap on both sides of the fuselage. The RIGHT step is shown in the photo
below..
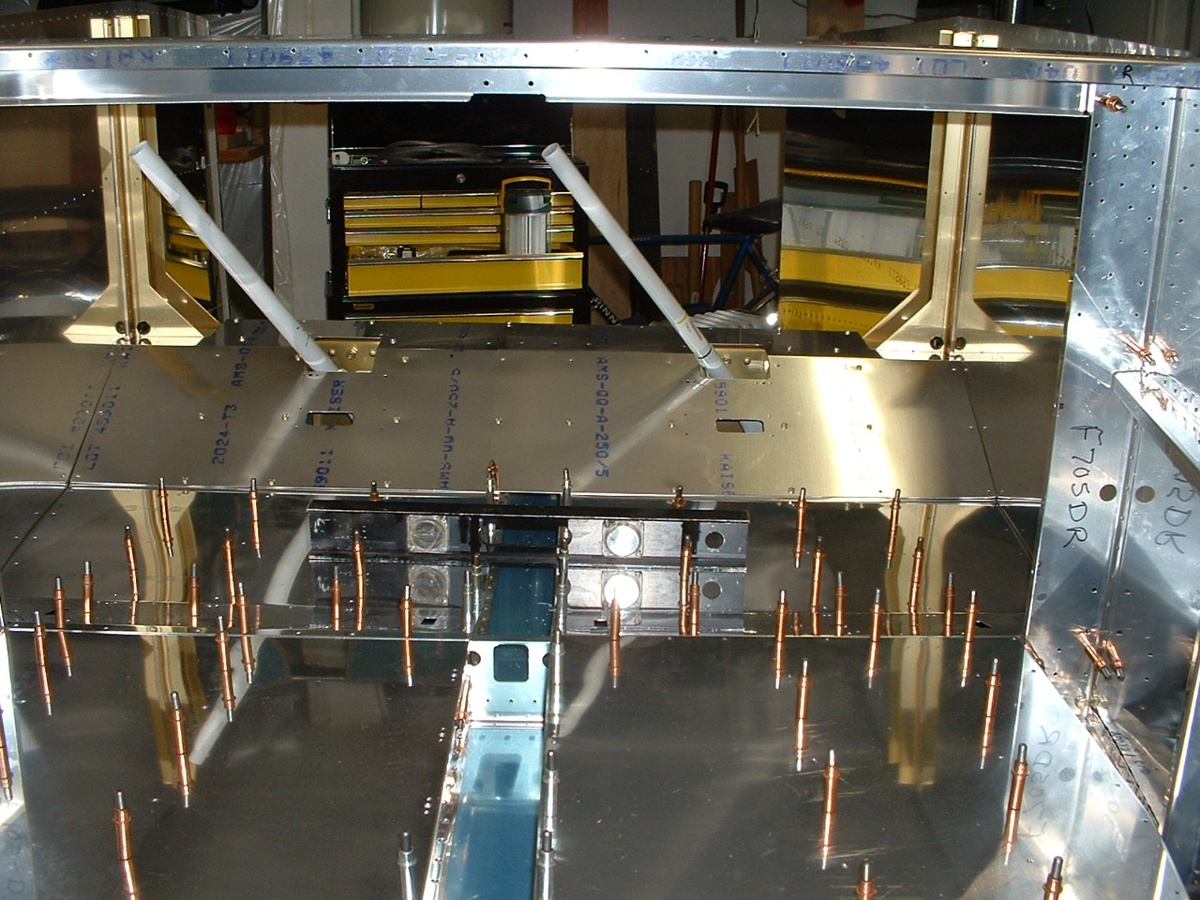
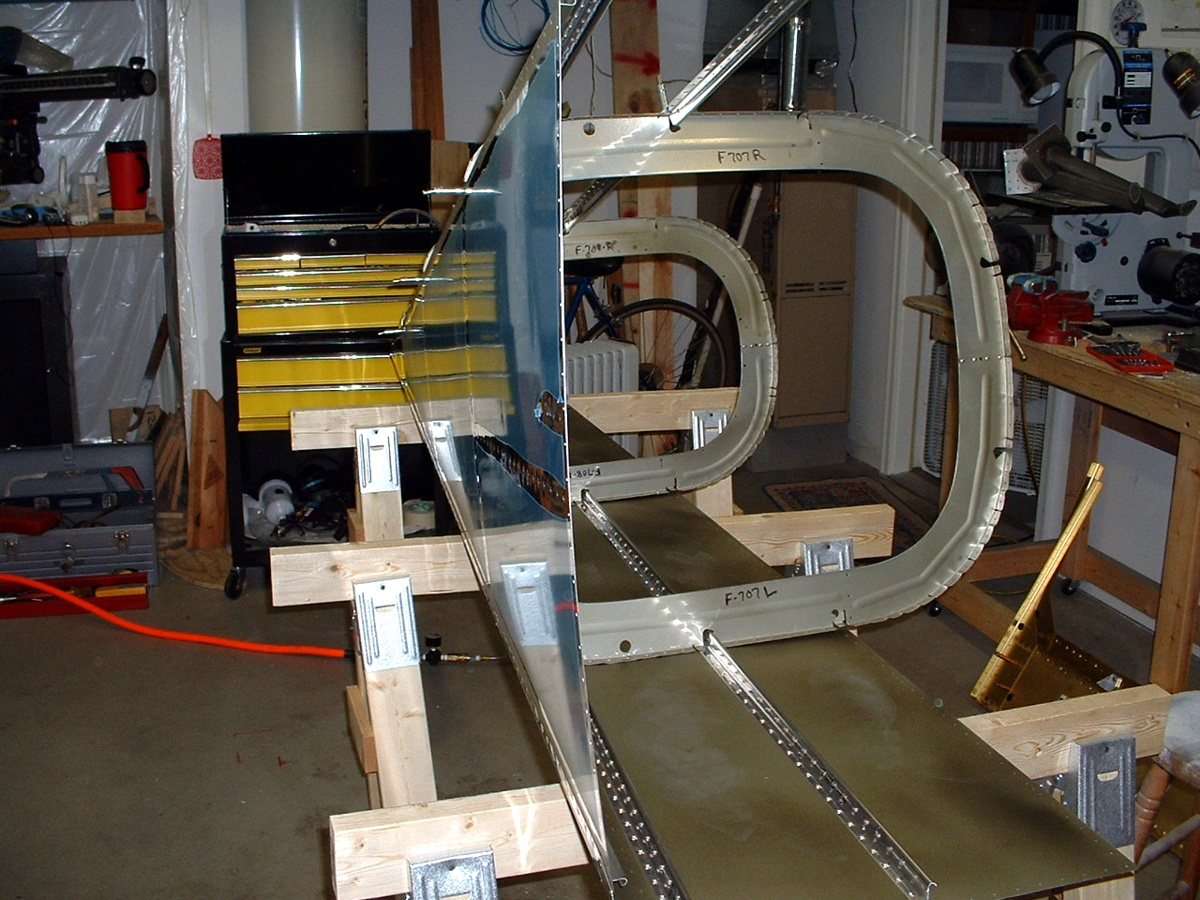
Inside the center section, I found that everything lined up very well when the
aft baggage side panels were put into their proper positions. I checked to see how
square everything became by moving my level fore and aft on the floor in the seating and
baggage area. With the blue plastic removed, it gets hard to tell what is what in
there with all the reflections. I installed the flight control sticks to see how
that worked with everything else.
September 5, 2003: This day saw the
completion of the drilling and countersinking of the center section parts and the
beginning of the priming of many parts of the fuselage. Next is the assembly and
riveting of the tail cone section, then joining with the center section. When that
is completed, I get to start the first assembly of the forward section to the firewall.
The first picture below is symbolic, since it was the last piece of skin that
needed to be dimpled before the next assembly steps. This morning I got this part
reassembled with the seat ribs and the wing bulkheads in order to do the countersinking of
the two rows of rivet holes that will join the center bottom skin to the forward bottom
skin -- that comes later.
The picture below shows some of the parts I managed to prime late this
afternoon/evening. There are another two piles of parts that have the "green
tint" of progress, but I did not want to bore you with those pix. Next posting,
we should see something that looks like part of an airplane.
September 8, 2003: I managed to work on the
wing attachment bulkheads this past Saturday and got a few more pieces ready there.
Then I started to work on the tail cone components. I riveted the aft bulkheads
together Saturday. Sunday was a short RV day, since I went to visit mom and my
sister in the Atlanta area. In the 2.5 hours I worked Sunday evening, I cleaned off
the blue covering along the rivet holes of the skins and then riveted the bulkhead to the
rear pan, and to the bottom skin of the cone section. Today (September 8th) I got most
of the riveting of the skins and J-stiffeners all riveted together in preparation for the
assembly of the center section. You can see the progress in the two photos below.
The first picture shows the partially assembled tail cone resting on its LEFT
side. The primed LEFT side skin is already riveted in place with the bottom skin and
the bulkheads up to the level of the second J-stiffener also riveted together. In
the pix below, the entire tail cone is riveted together except for about a dozen rivets
that I will need some help to set. My arms are just not long enough to hold the
bucking bar and the rivet gun. I tried to back rivet one of those hard-to-reach
locations with poor results. I shall wait for the appropriate assistance to finish
those last rivets.
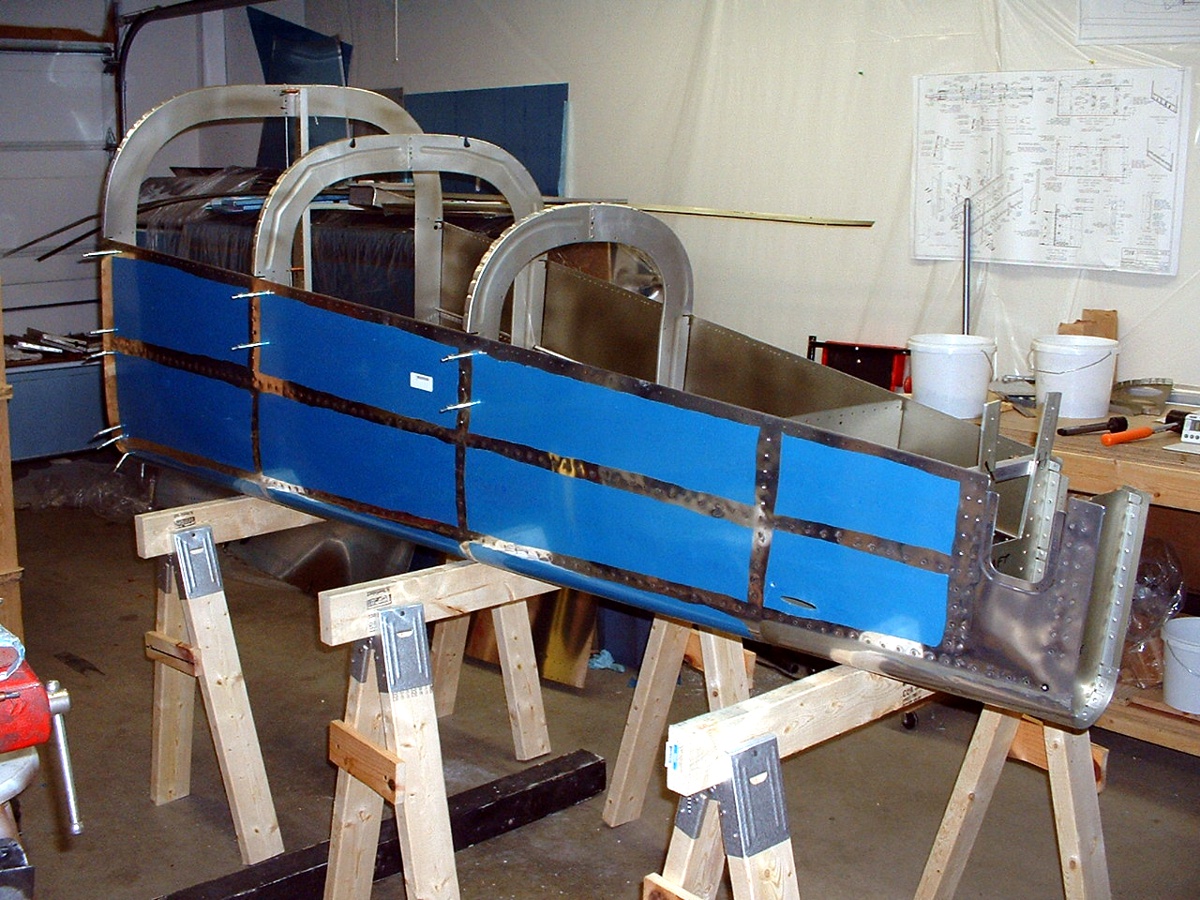
I added clecos at the "front" bulkhead of the tail cone and above the
second J-stringer level to stiffen the whole assembly for the next steps in the assembly
with the fuselage center section. Those two flat bars sticking up near the aft
end will attach to the rear spar of the horizontal stabilizer in final assembly. The total assembly time now stands at 702.1
hours since October 28, 2002.
| CLICK for fuselage Page 23. | RETURN to MAIN MENU |