FINISHING KIT - Page 40.
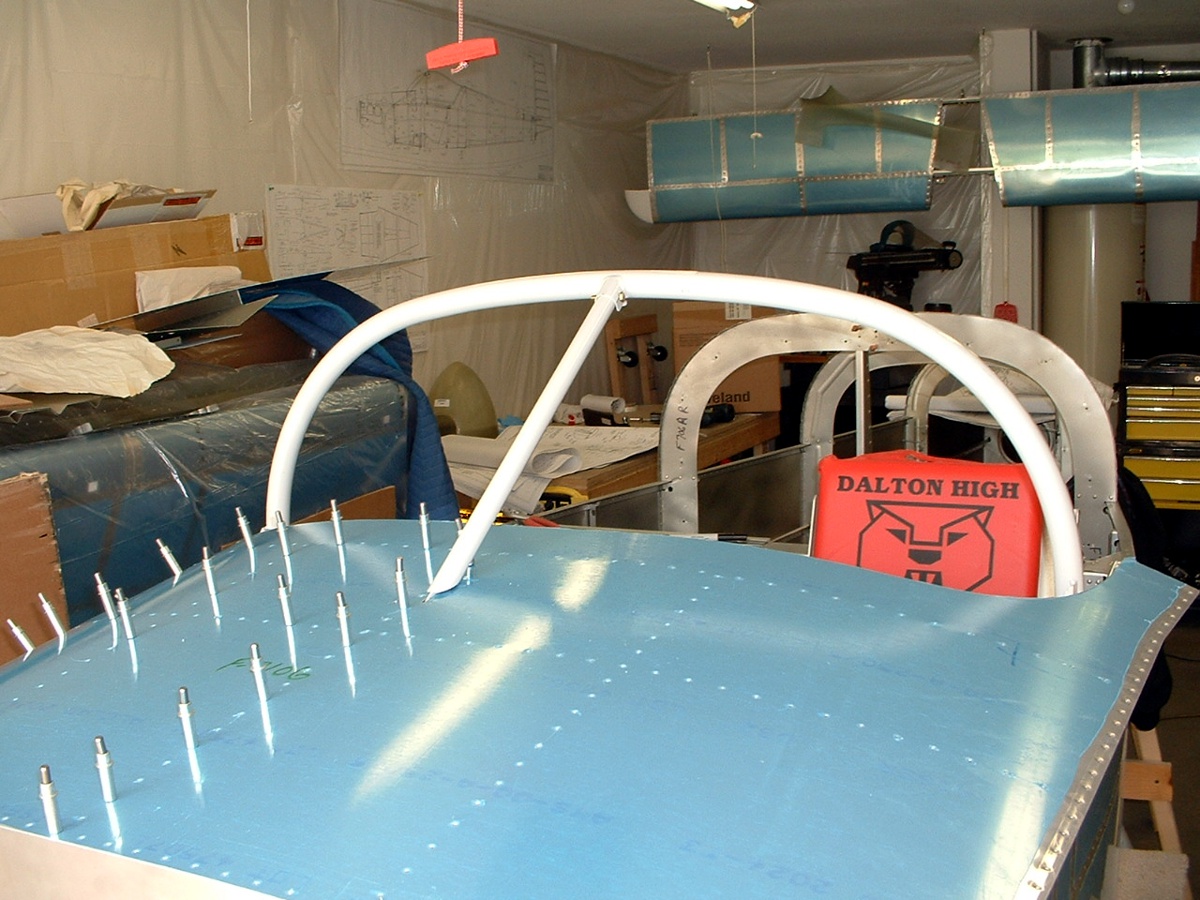
March 24, 2004: The past few days have found
me doing what I can with the current status of the fuselage construction. I have
drilled the roll bar to fit the side rails of the fuselage and also riveted the front ribs
in between the firewall and the instrument panel. This allowed me to put the front
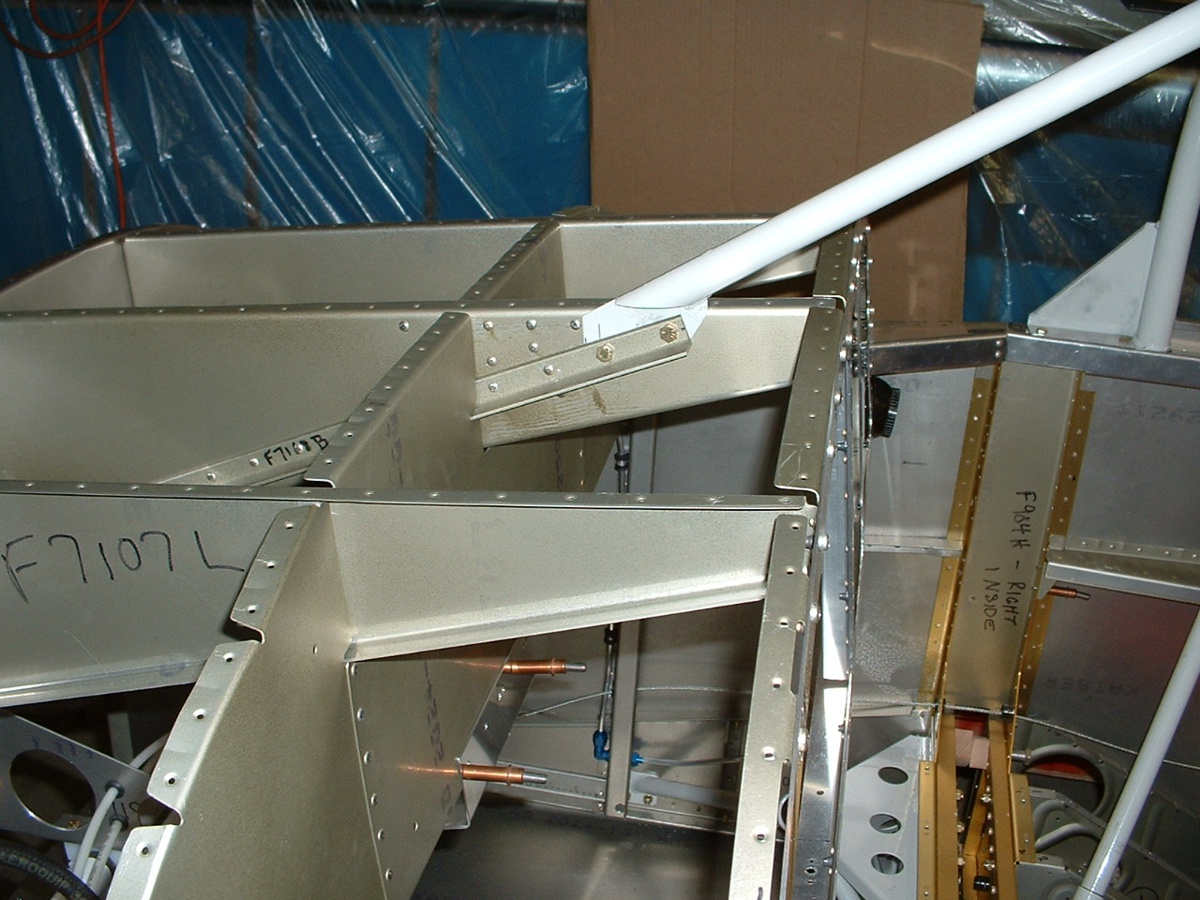
skin in place temporarily to fit the brace bar to the roll bar. I drilled the brace
to the roll bar and to the rib and doubler plate beneath the forward skin. Notice
how 1/2 of the forward skin is NOT clecoed in place, allowing me to reach under to drill
the brace to the center rib and doubler plate.
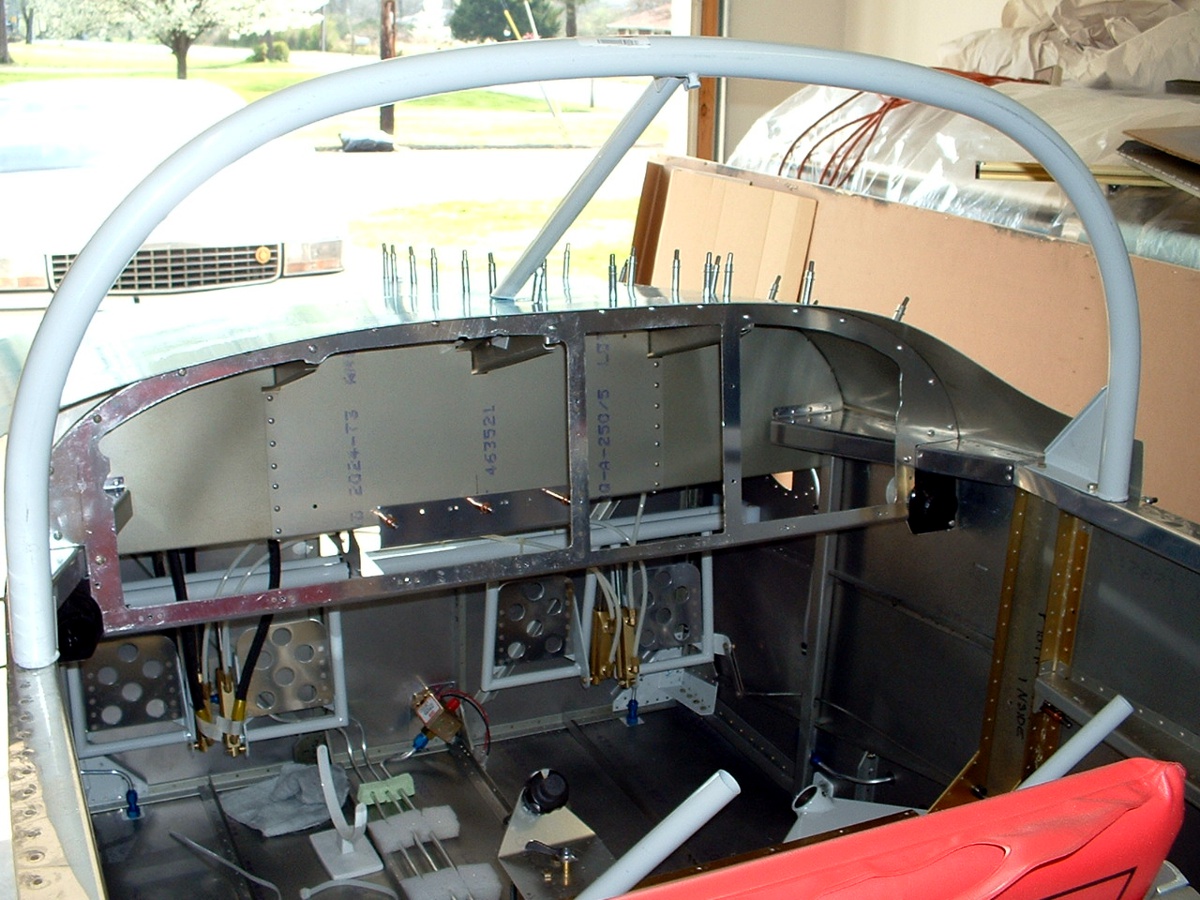
Here is the view from the rear looking forward. You can see that the
sub-panels are riveted in place and I have screwed the frame I created from the original
instrument panel in place to set the correct width of the fuselage. I also sealed
all the fuel vent line fittings and the fuel line fittings on the fuel selector valve and
the input side of the electric fuel pump. I discovered that I had used the wrong
fittings on the bottom of the pilot side brake master cylinders when I was attaching the
flexible brake hoses to the fittings on the firewall. I have since located the
correct blue fittings and will be replacing them soon.
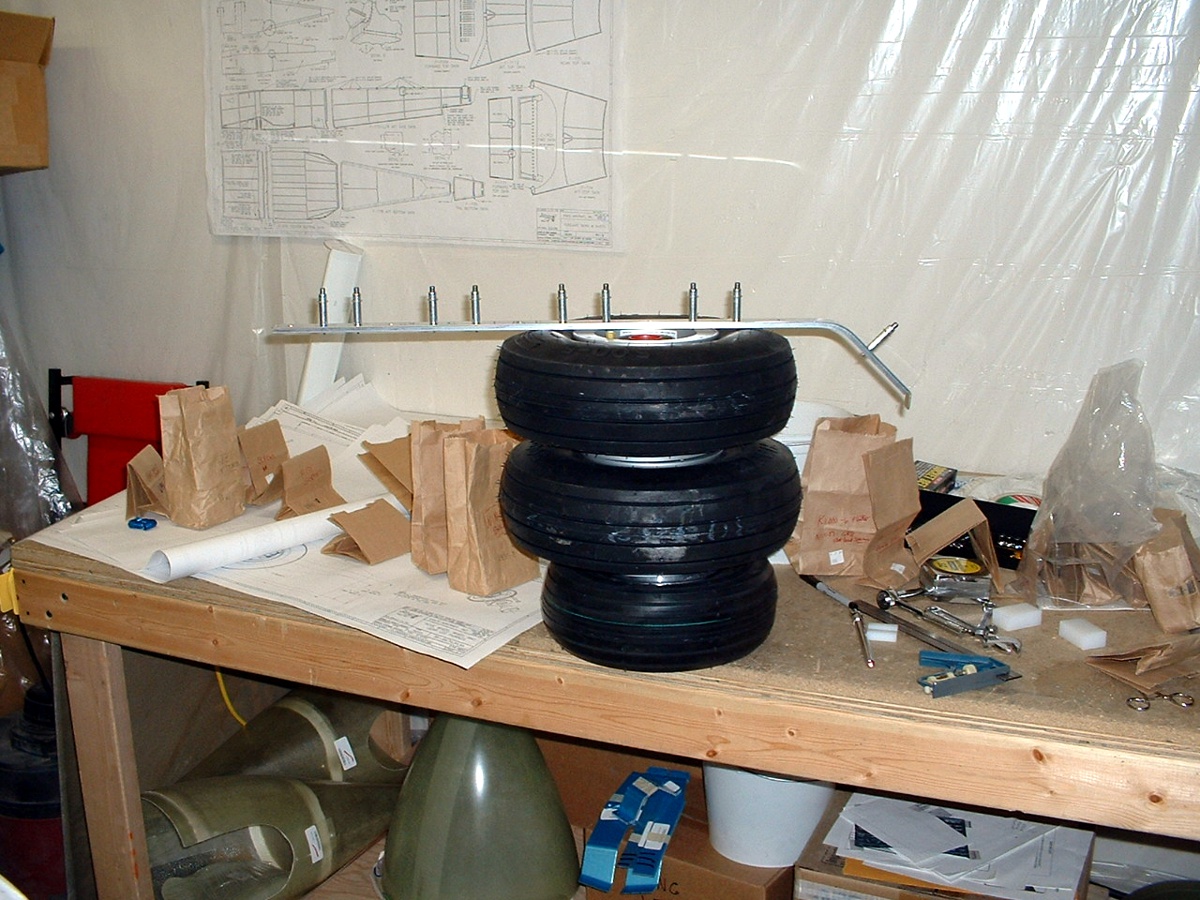
I also assembled the tires, tubes and rims and inflated them with 30 PSI air
pressure. You can also see the spinner kit and some of the fiber glass wheel pants
below the work table.
After reading ahead and doing some of the preparations for mating the sliding
canopy, I realize that I need to finish up some electrical wiring preparations before
putting on the top skins. Once the skins are riveted in place, I will then be able
to fit the canopy frame and the Plexiglas canopy itself. Cutting the Plexiglas
needs
warmer weather, so I shall be patient and proceed with acquiring the necessary wiring and
plastic bushings to route the wiring though the various bulkheads and ribs as necessary.
I assembled the brass bushings and the nylon roller wheels and temporarily
installed them on the canopy frame.
Here are the details of the forward ribs and the brace bar with the forward
skin removed. This shot is taken after I had ground away the excess steel plate that
is fitted between the aluminum angle and the rib. There is also a doubler plate on
the other side of the rib. The rivets show its location.
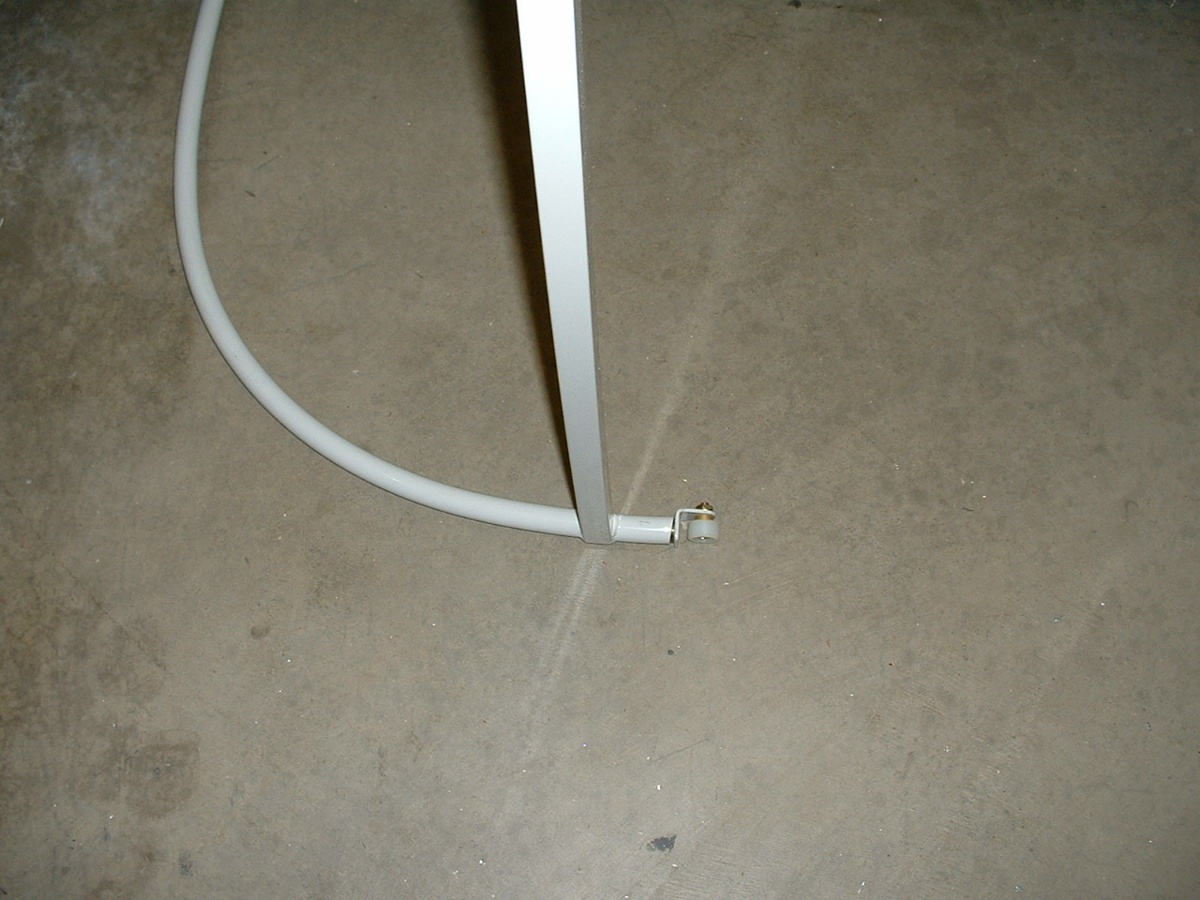
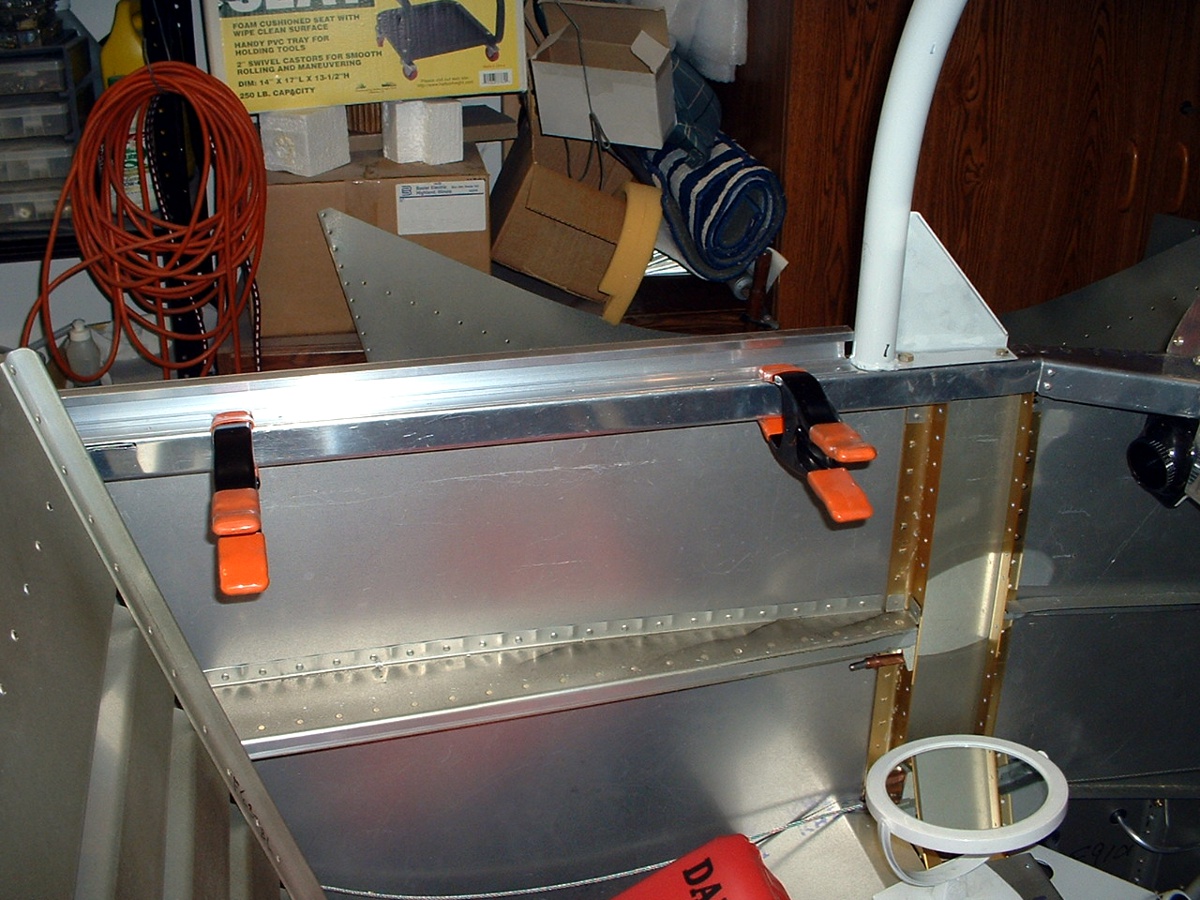
Here is the other part of the canopy preparations. I have cut the two
slider channels that will eventually be screwed down to the fuselage sides when the final
canopy alignment is accomplished. They are clamped in place for the moment.
The mirror helped me get the nuts and washers on the bolts holding the roll bar in place.
| CLICK HERE for finishing kit page 41. | RETURN to MAIN MENU |