FIREWALL FORWARD - Page 77.
Much has been happening in the past few days, but not all of it was aircraft construction. Let me bring all of you up-to-date.
December 20, 2004: No work on the airplane today, but I did have a visit from the local EAA advisor and A&P, Rich Nadig. I wanted Rich to see the current status of the airplane and confirm some of my choices or tell me a better way to do things. I also placed an order with Aircraft Spruce & Specialty for the stick grips and some silicone tape.
December 21, 2004: Completed riveting of the air seal fabric to the baffles around the engine. I cut the spacers down to proper size for the tachometer sensor. I drilled a new hole in the firewall for sensor wires to get them away from the solid-state ignition wires. That will leave a hole in the firewall that will need a patch seal riveted over it. I finally riveted the aluminum strips with platenuts on them to the lower cowl along the sides. They replaced the small hinges along the seam between the upper and lower cowl. The stick grips arrived from Spruce. The red silicone tape is backordered and should be here in January.
December 22, 2004: No work on the airplane today, but the antennas arrived from Van's Aircraft for VOR/ILS, COMM, and marker beacon receiver. I spent some of my time today working on a computer project. I had a glitch on the hard drive of this IBM T23 laptop computer and realized I needed to get a new and bigger hard drive for the laptop and migrate my files to that new drive. I placed that order with IBM today.
December 23, 2004: Some work today on the
air seal at the RIGHT air intake scoop on the lower cowl today. Here are some pix
showing the results of the past few days. I have an aluminum strap under the
air seal fabric that is held in place by those clecoes. Getting the shape of the black air
seal fabric just right to lay "flat" against the baffle is the trick here.
See what I mean about laying flat? I have cut a notch in the fabric on
the other side of the fiber glass and it helped compared to the first time I put this
together, but there is still a way to go. I know, at 180+ MPH, the fabric will be
"pasted" to the ramp. I used my Dremel sanding drum to remove just a small
amount of the fiber glass cowl where you see the black marking pen ink.
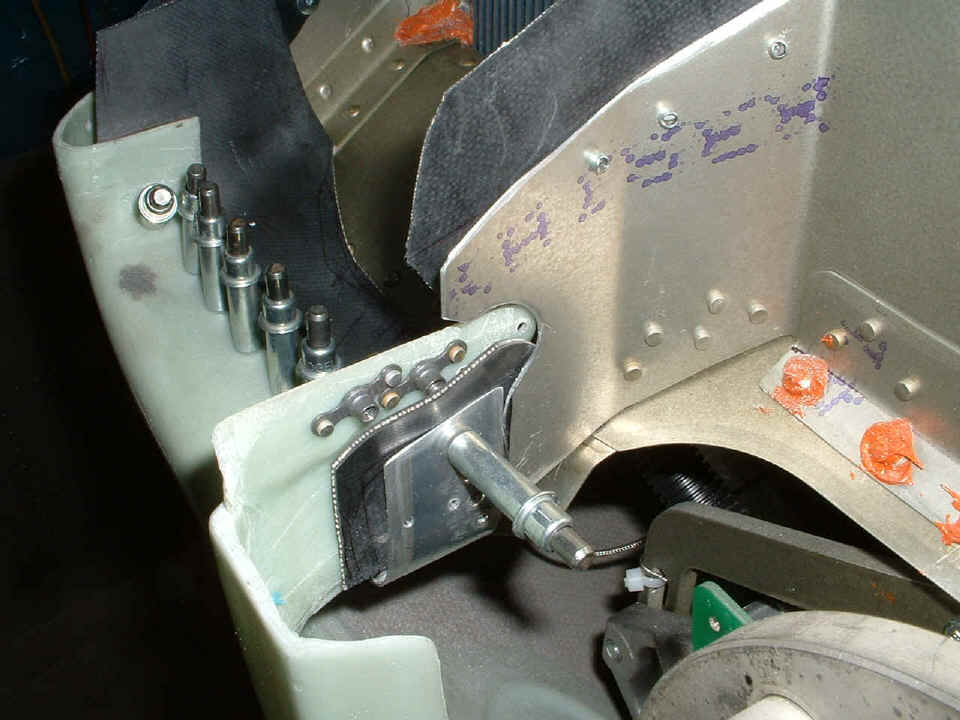
This photo shows the strap as it and the air seal fabric wrap around the cowl
opening on the spinner side. I have a bit more trimming of the air seal fabric
before I rivet everything in place. That little bit of green circuit board is from
the Light Speed ignition crank sensor board. It is hidden behind the ring gear when
it is installed on the crank shaft flange.
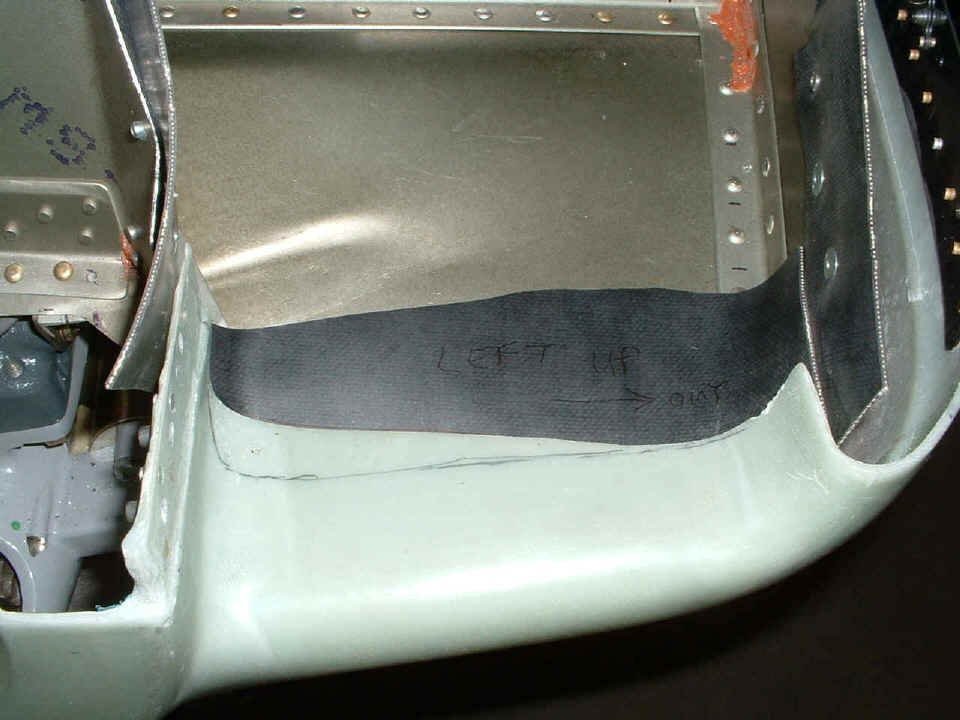
Here is the LEFT air intake with the air seal fabric laying in place. I
will probably cut a larger piece to get it wrapped around properly on both sides of the
air inlet port.
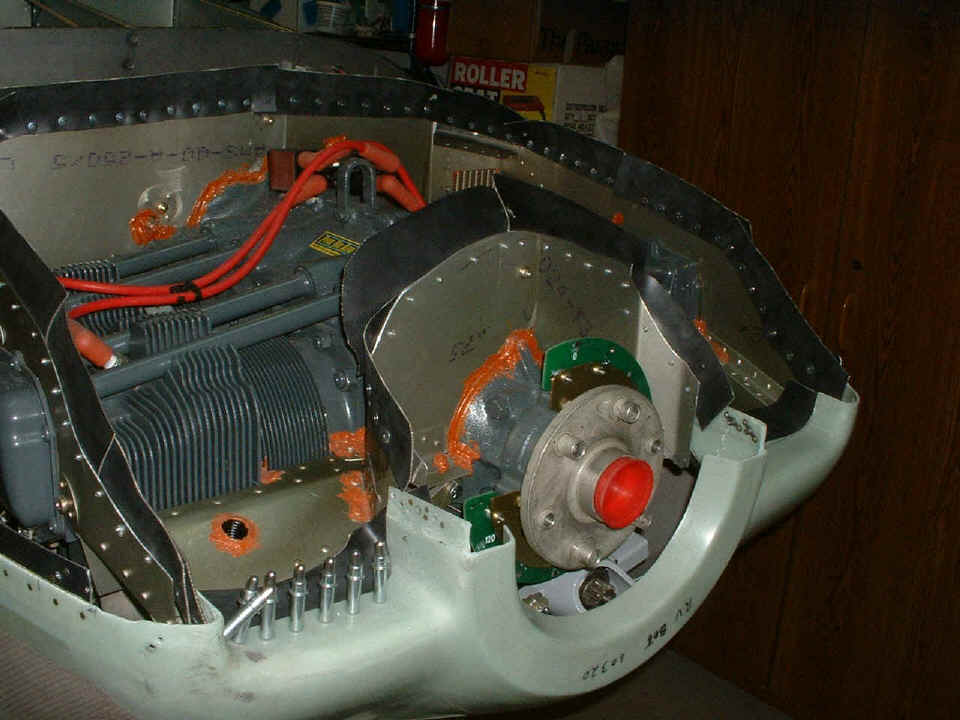
Here is the last shot of the day, the overview showing the status of everything
I have discussed on this page. The air seal fabric across the front of the baffles
is now riveted in place along with every other piece except for the two air intake
sections. That crank angle sensor board for the Light Speed Plasma III ignition is
very visible in this photo. I have to drill two control wire access holes in the
back baffles behind the high-voltage coils.
Sometime in the coming weeks, I have to put the propeller and back plate on the engine again and work out my technique for putting the cowl on and off the engine for normal maintenance procedures like oil changes. The back plate clearance from the cowl is about 1/4 inch.
The construction log book time now stands at 1438.9 hours.
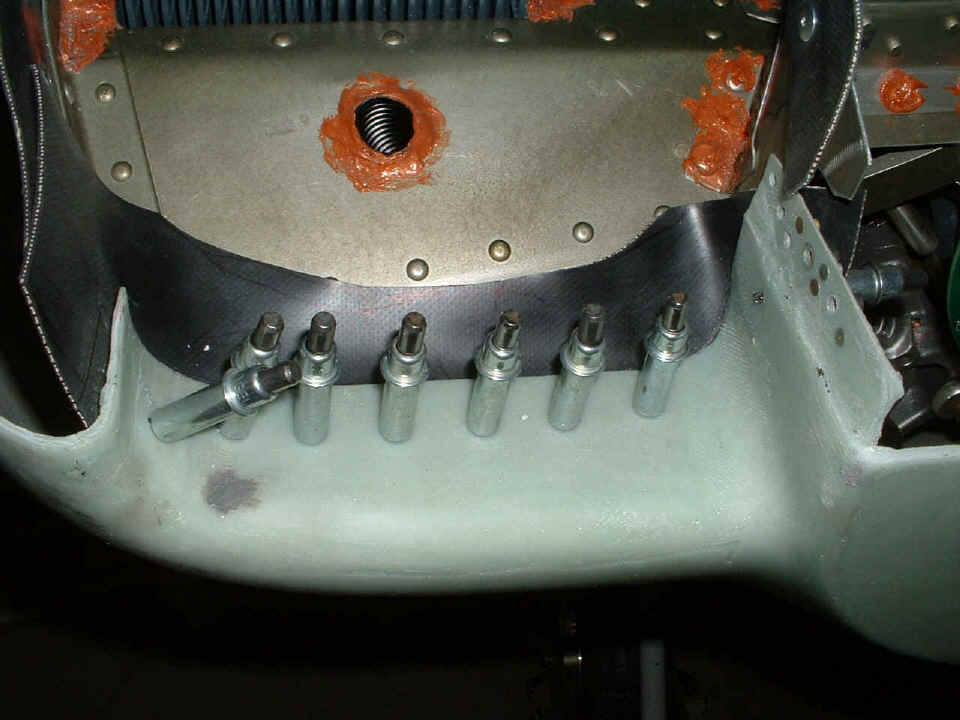
December 24, 2004: I spent 2.7 hours today working
and reworking the front air seal fabric until I was satisfied it was time to secure it to
the bottom of the air inlets with pop-rivets. Here are the final results.
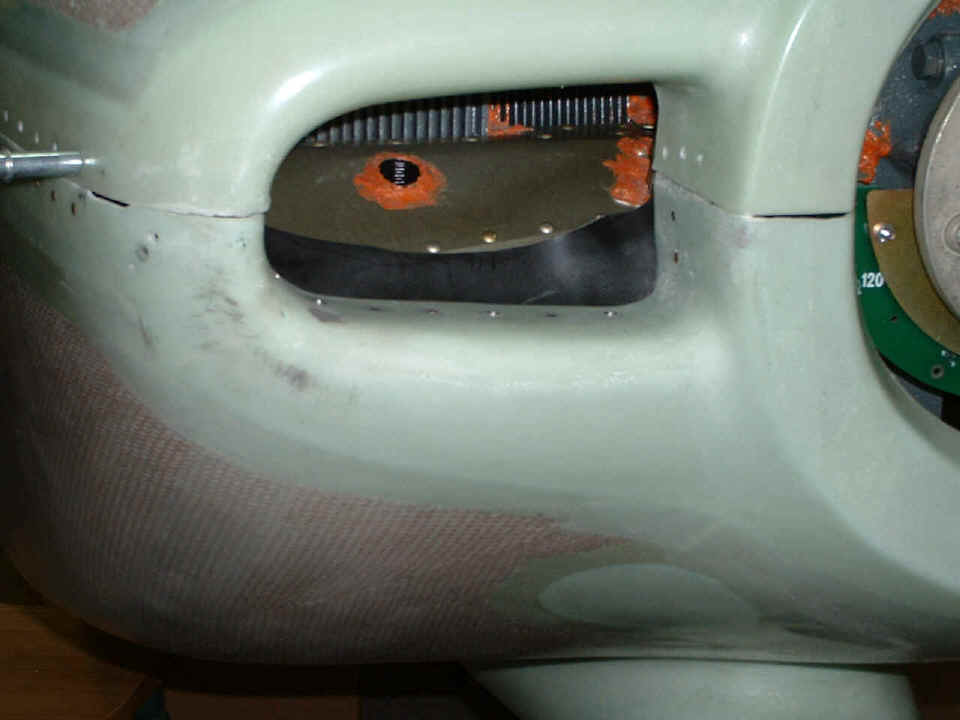
First is the RIGHT side.
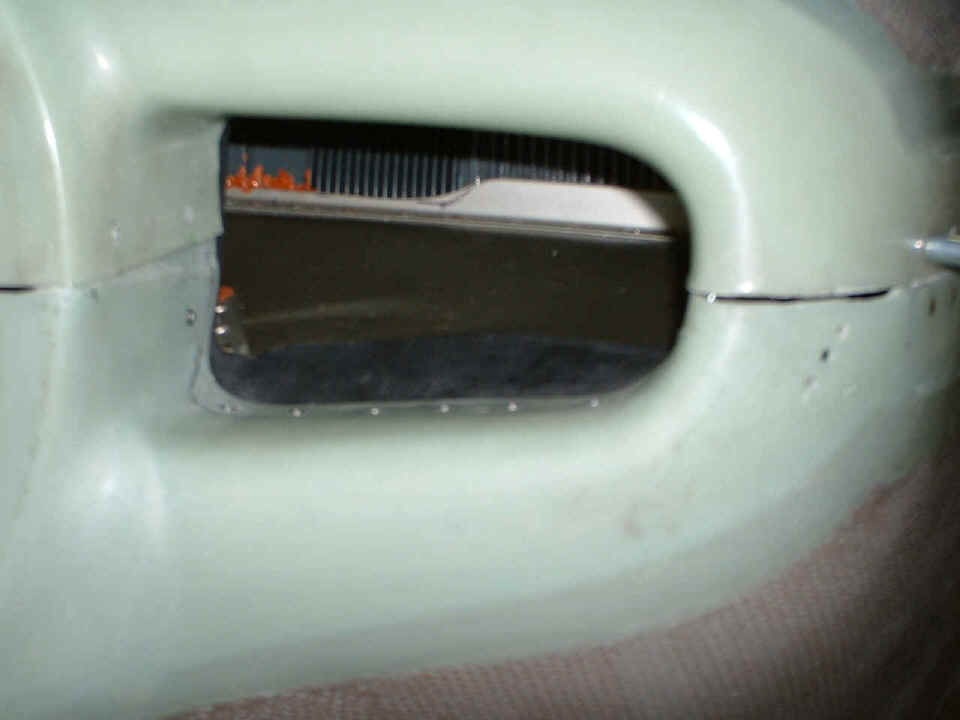
Then comes the view of the LEFT side (pilot's side).
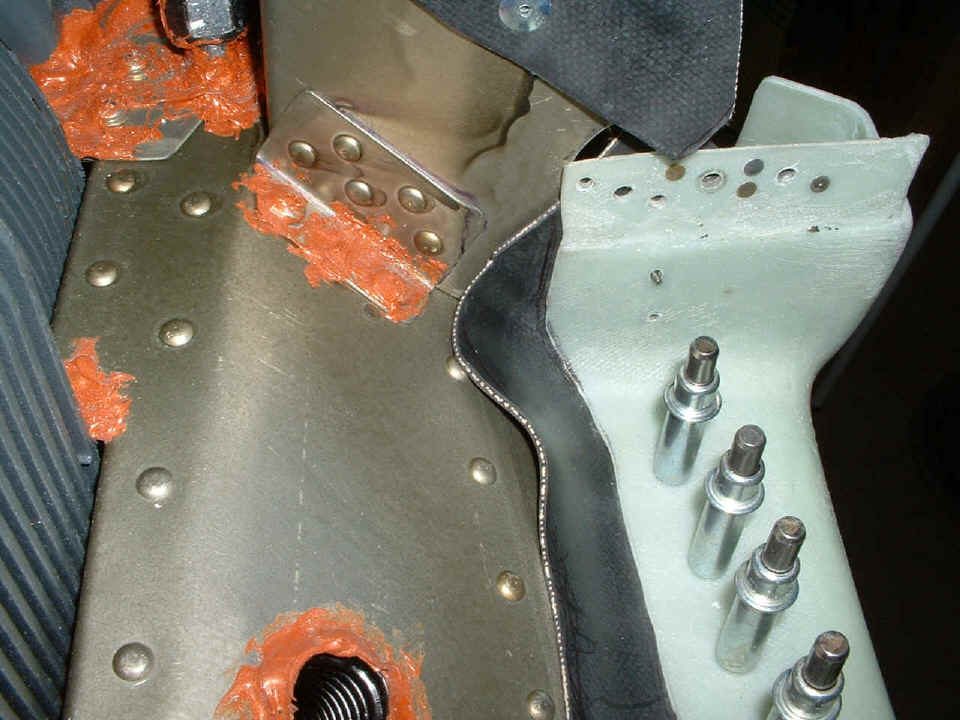
And here is a close-up of the LEFT side rivets holding the air seal fabric and
the aluminum strip that is underneath the fabric. I decided not to cut along that
line you see there some weeks ago. Shaping the twist and bends to the aluminum strip
that is at the other end of those pop-rivets took more time than I originally thought it
would.

Next time, we go to page 78. Merry Christmas to all, and to all a good night!
| CLICK HERE for Finishing - Page 78. | RETURN to MAIN MENU |