New Tires for Enterprise · · PAGE 449.
May 15, 2019: My long silence of this aviation web site is over. I have received new tires and tubes for my Van's Aircraft RV-9A. I will probably put them on the airplane on Sunday, May 19, 2019. This will be start of my annual inspection of N2PZ. I will have photos as the work proceeds. I have also purchased a Garmin GDL-82 ADS-B OUT transponder kit that will be added after my Garmin GTX-327 mode C transponder in the cable going to my radar antenna. It is not expected to ship until after May 22.
May 18, 2019: Saturday, I got started
replacing the LEFT main tire this afternoon. The main tires were rotated
in the first year of flying my airplane to get even tire wear. Billy
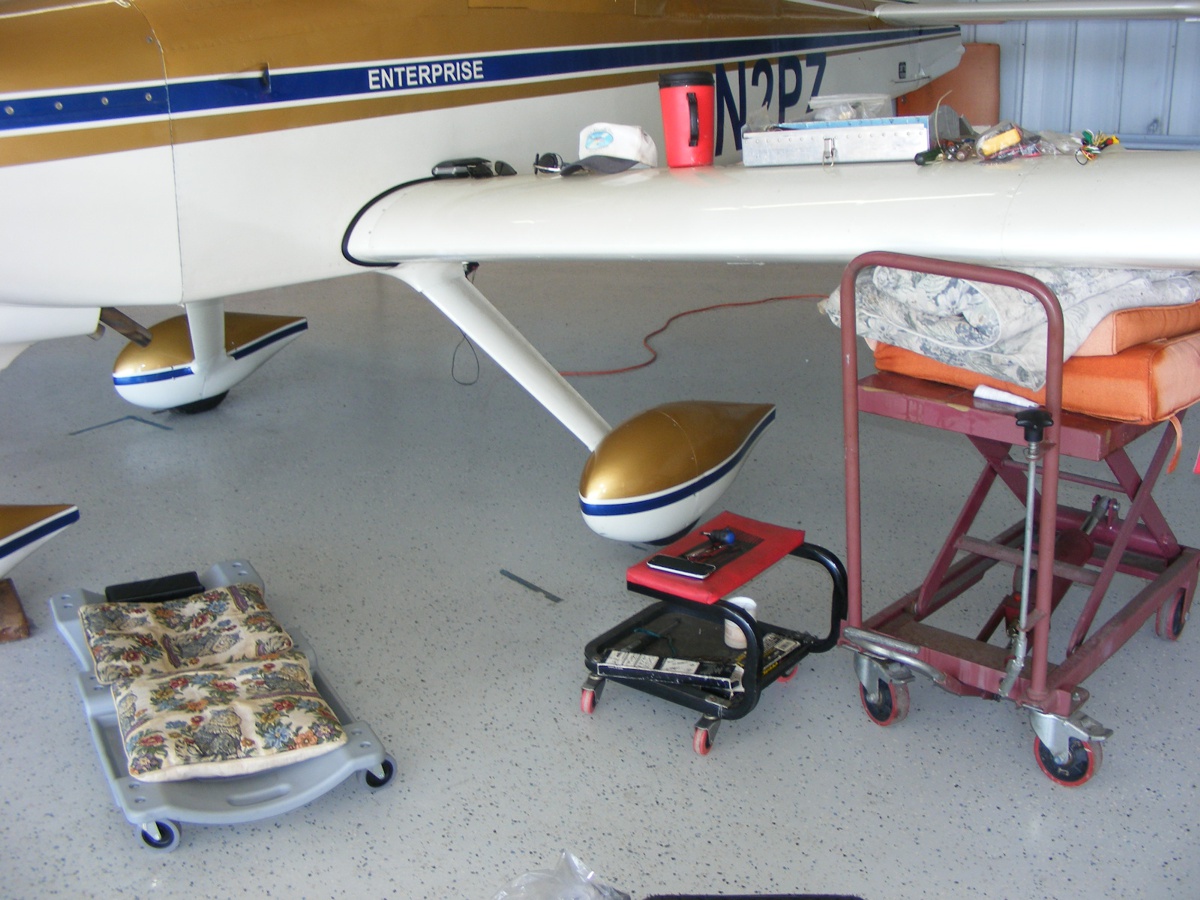
suggested I use his wing jack and some cushions under the wing spar.
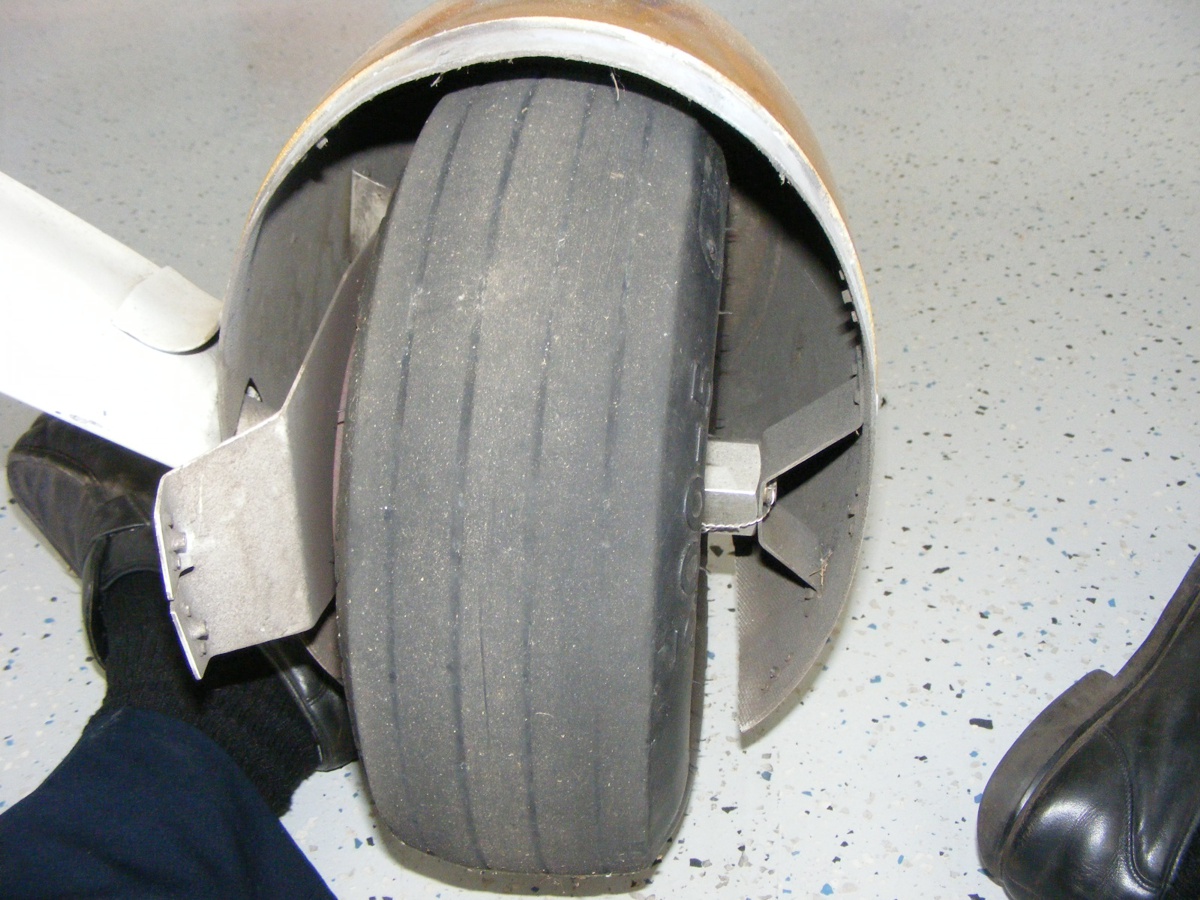
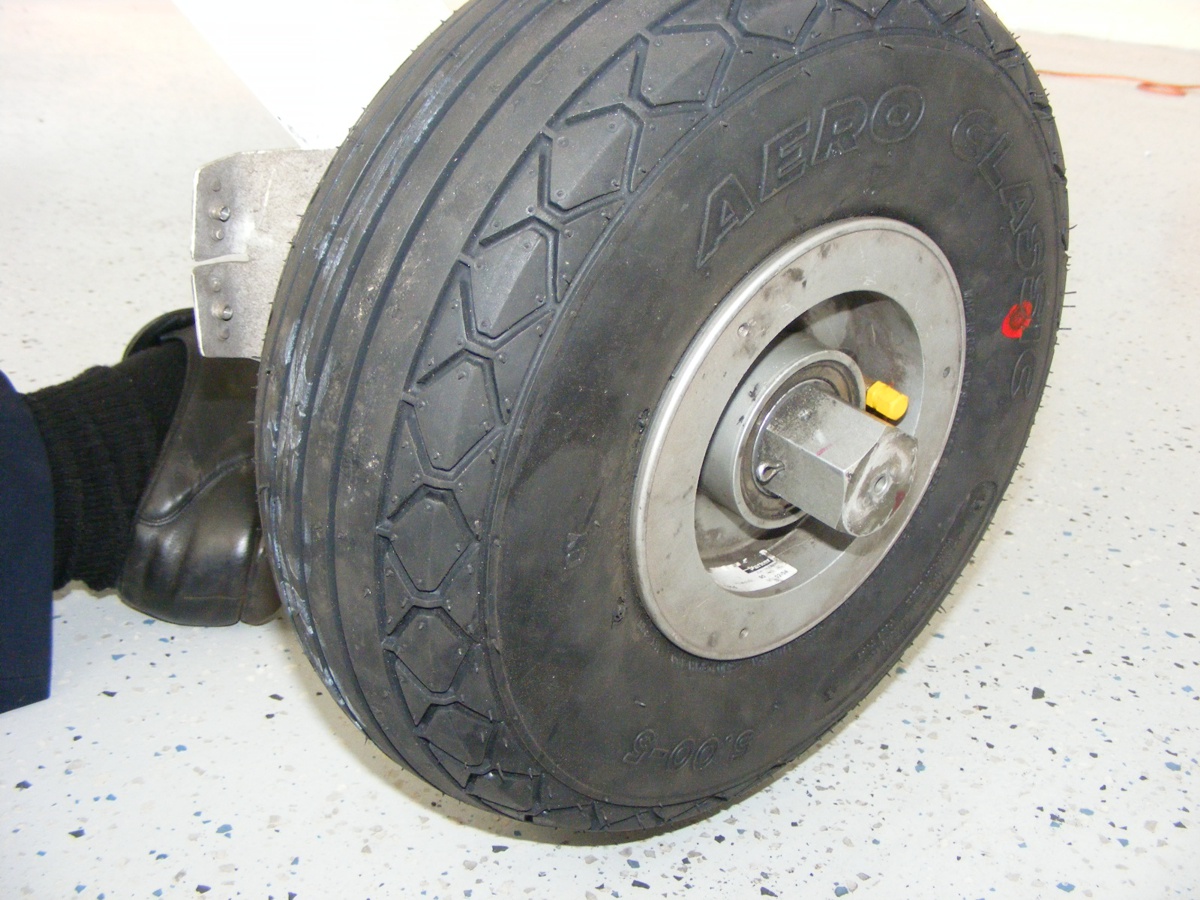
The first thing is to get the wheel fairing off. That safety wire
has to be removed, then the bolt that holds the bracket to the fiberglass fairing
is next. Those tires are worn out and the tube in this one recently went
flat with no puncture. Take notice of the split in the center tread.
I had put air in the tires since my only flight in January and have not flown
since then as I had to remove the front half of this fairing to put air in
it. That was when I saw that split and ordered new tires and tubes from
Van's Aircraft. I placed the order on April 29, 2019.
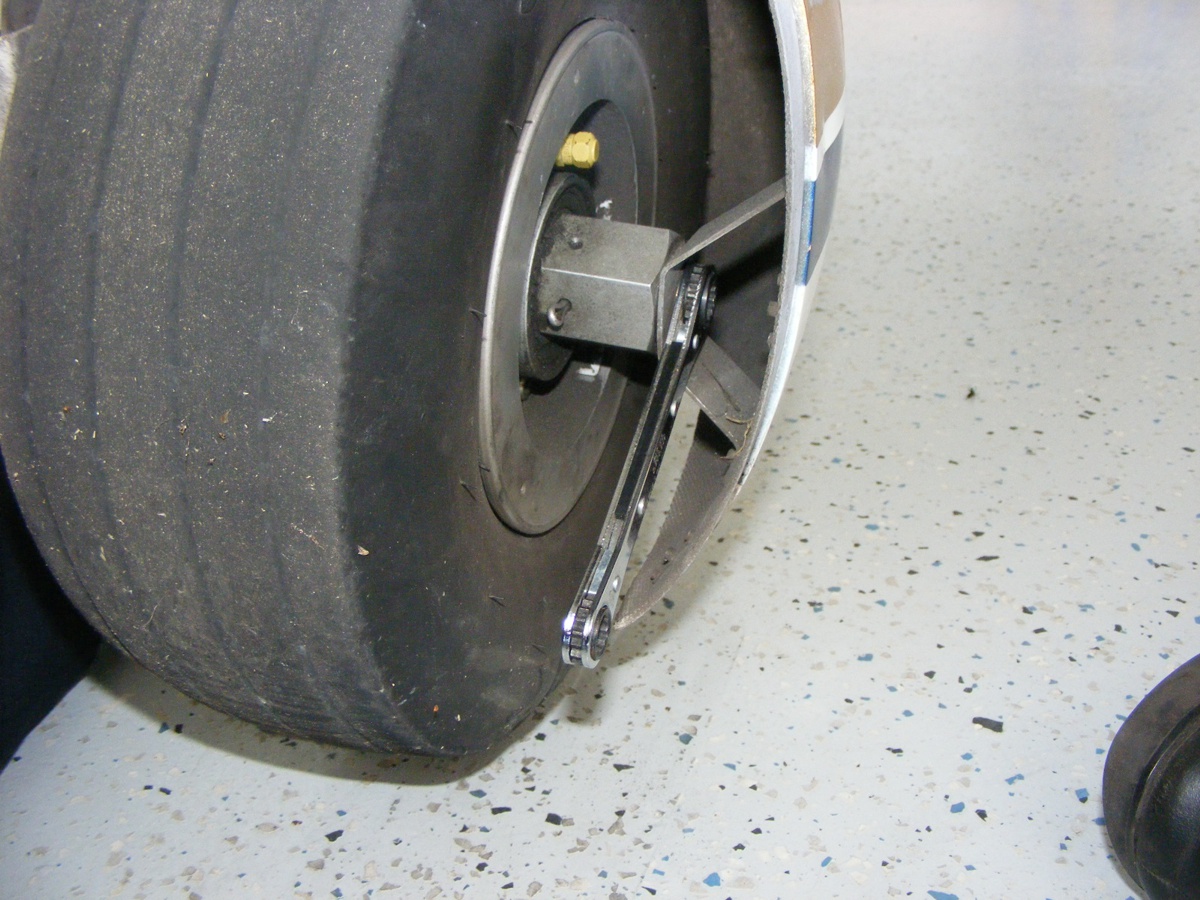
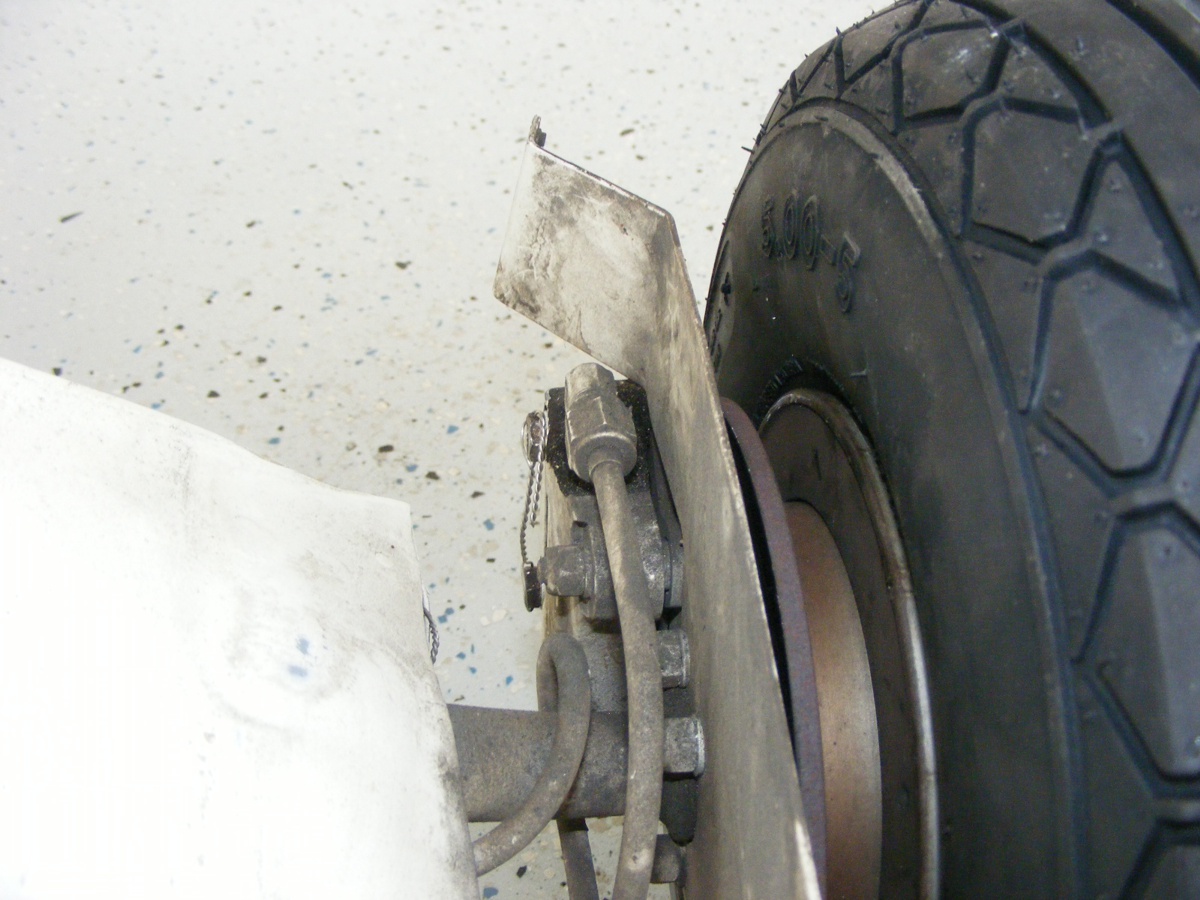
After removing the safety wire, a 7/16" ratchet wrench is used to
remove the bolt that holds the fairing the hub nut.
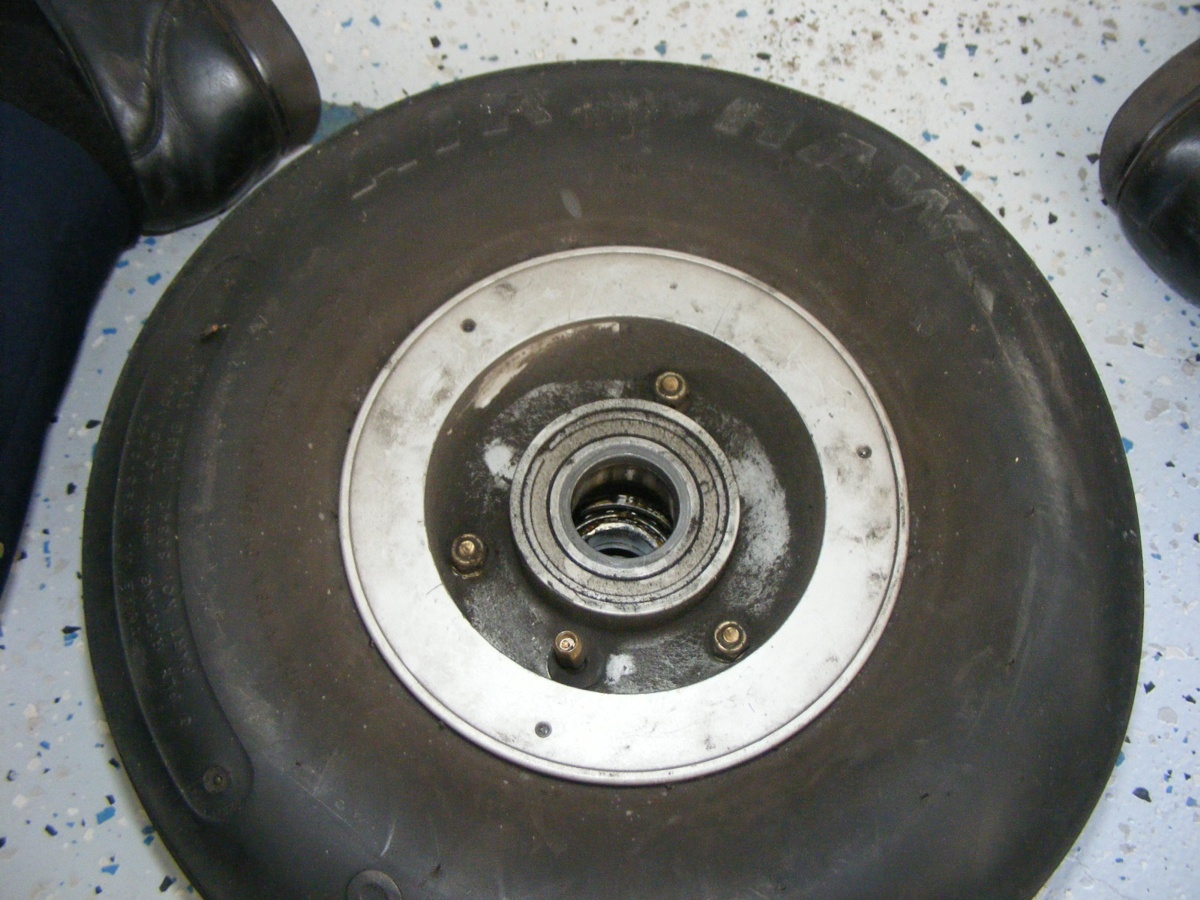
With the wheel off the axle, the dirt will be removed and the bearings are
inspected and cleaned as needed. All the air is let out of the tire. I
stood up on the tire to start breaking the seal between the tire and rims, then
took out the bolts to separate the wheel halves and remove the brake disk.
This is where I mention that it took two hours to remove the old tire
before I could quickly install the new tube and tire seen here. The hub
nut is secured and only fits in one position. I put 40 PSI in the tire and
removed the jack from under the wing.
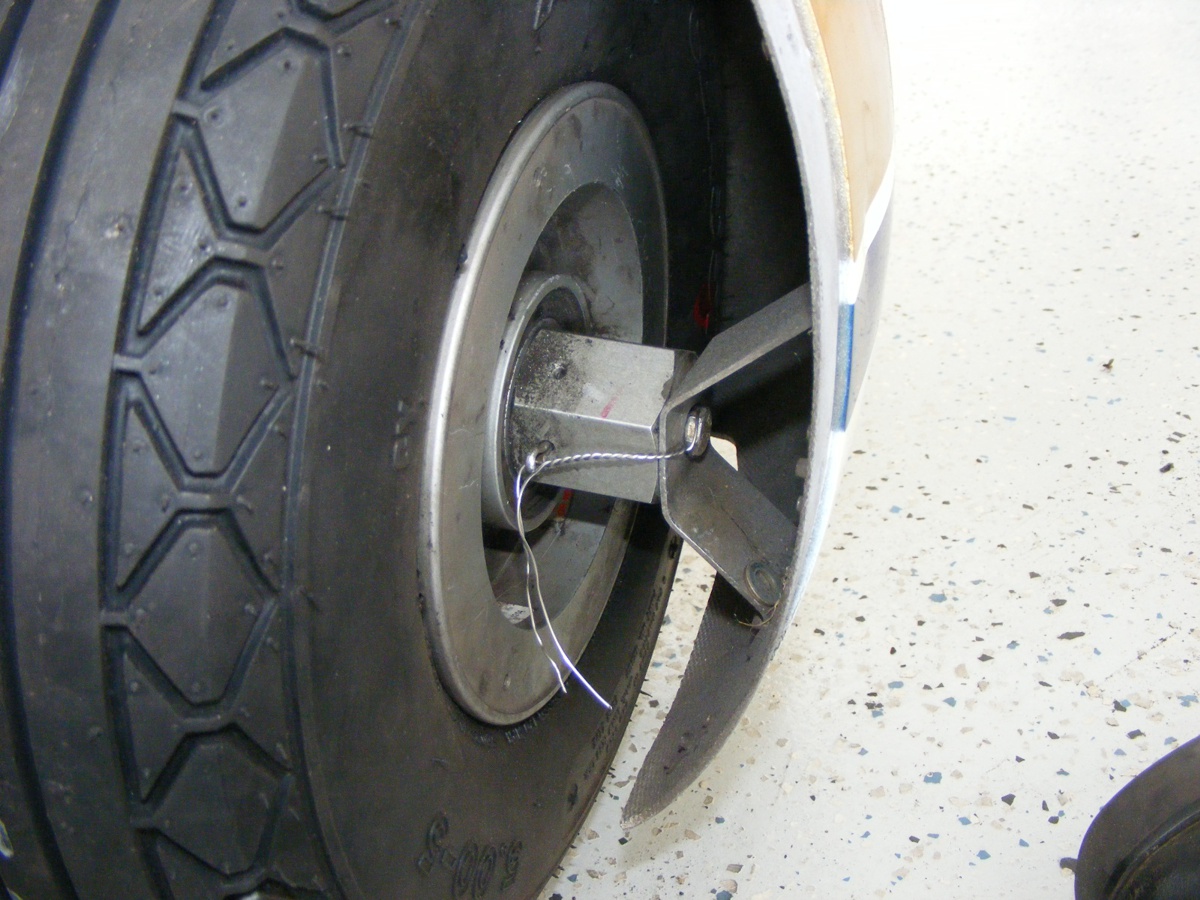
I took this photo after securing the brake pad to the caliper and
installed the safety wires.
The new safety wire gets installed after the bolt has been tightened to
the plate nut in the center of the large hub nut. All that remains is the
second twist on those free ends of the safety wire and cut them to the proper
length. After that is done, the front half of the wheel fairing is secured
with screws.
This is picture I took at the completion of my work on Saturday. The
other main wheel and nose wheel get my full attention on Sunday.

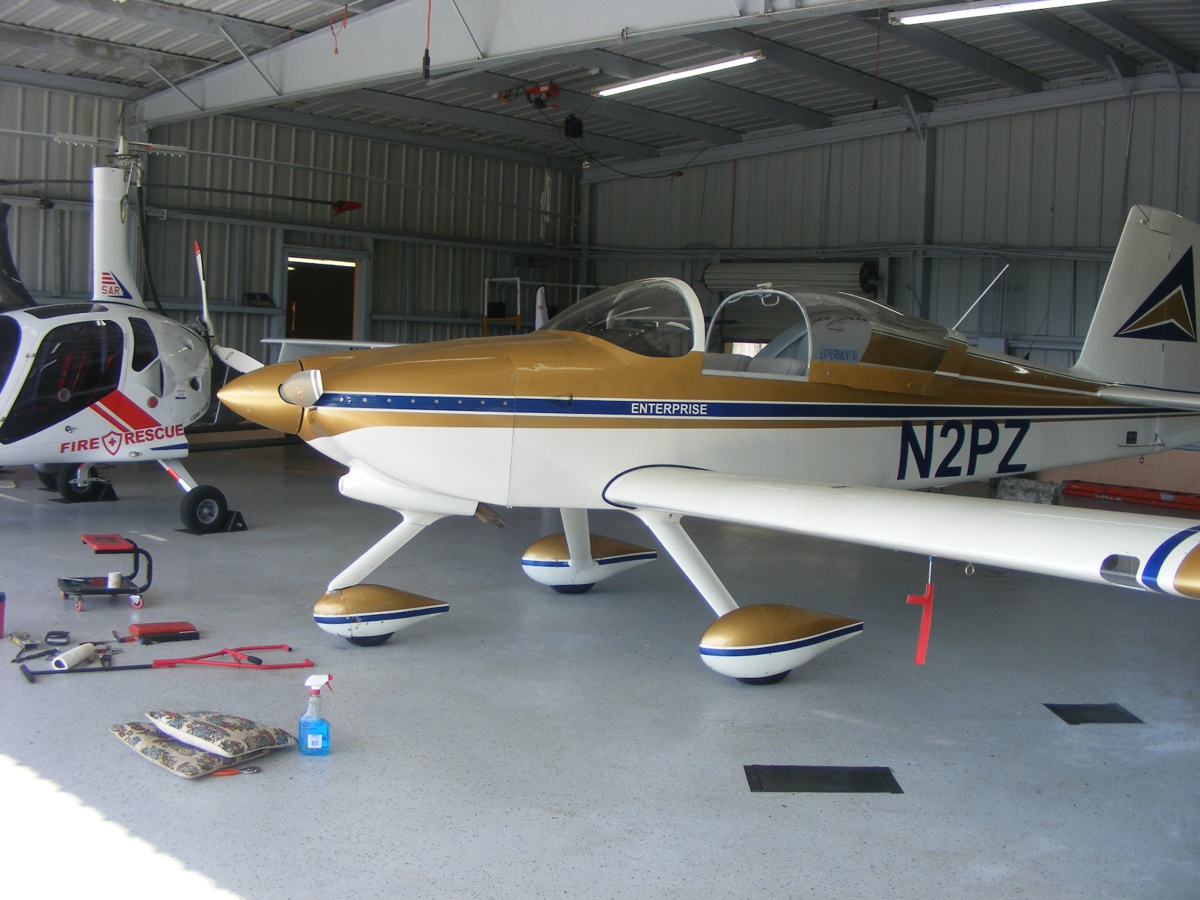
May 19, 2019: Sunday -- Let's cut to
the chase. Yesterday's procedure was repeated on the RIGHT main tire
replacement. This image was taken after the completion of the tire
installations. The nose wheel was much easier as it comes off the nose
gear fork easily. The large bench vise in the shop made it easier to
remove the tire from the two halves of the nose wheel assembly. I made
sure the tube was not caught in between when it was reassembled. No test flight today as there is
still more work to be done in the annual inspection.
| CLICK HERE for PAGE 450 | Return to MAIN MENU |